I must admit, my first response to the idea of nasal irrigation with a neti pot was, “Ewww, that’s gross!” But now, I look forward to the fresh sensation of inhaling through my nose after cleansing with a neti pot.
Living in coastal Georgia, we’re blessed with mild winters and ample opportunities to get out in nature. Daily walks take me alongside vast marshlands that border our tidal creeks and rivers. While the marsh grass is beautiful to look at and provides a welcoming environment for waterfowl and wildlife, it triggers my allergies, and I end up with a runny nose and sneezing.
Related: “Fresh Ways to ‘Green-Clean’ Your Home”
Enter the neti pot and its capacity to introduce a cleansing, saline solution that runs through my nasal and sinus passages, washing away pollen and debris. Nasal irrigation with a neti pot is an inexpensive, simple, natural, and chemical-free way to enhance my health and alleviate annoying allergy symptoms.
Cleansing of the nasal passages is a practice that has been around for thousands of years in Ayurvedic medicine. While Islamic faith traditions call for “wudu” or “ablution” in preparation for prayer, westerners enthusiastically embrace the practice for health reasons.

What It Is and How it Works
The nose is the body’s air filter, and it serves as the first line of defense against foreign debris in the air we breathe. Inhaled allergens and pathogens trigger allergic responses and introduce microorganisms that may cause illnesses. Cleansing with saline solution from a neti pot helps to rid the body of unwanted, air-borne irritants.
Tiny, hairlike structures called “cilia” line the nasal and sinus cavities, and they undulate to push mucous along. The saline solution from a neti pot thins the mucous and essentially flushes the area, helping the cilia to do their work.
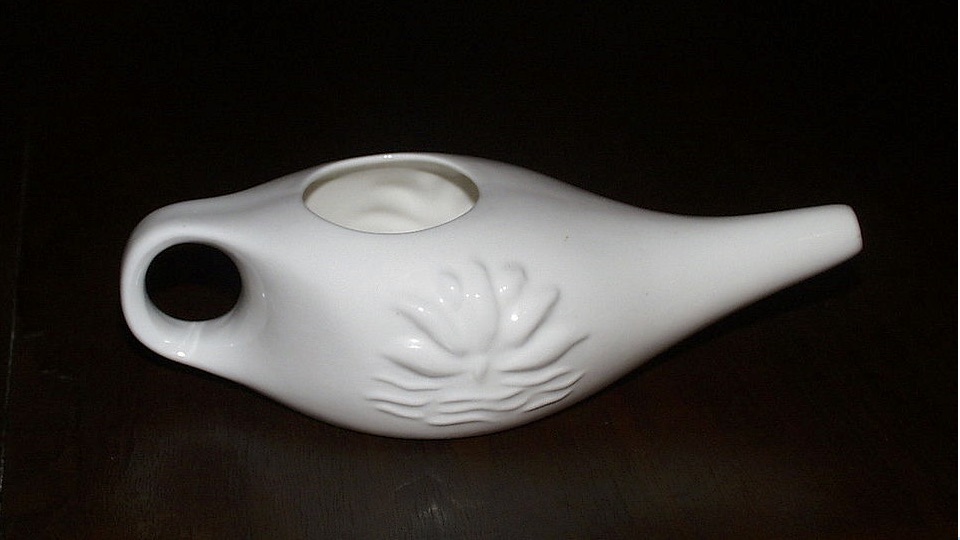
Traditional neti pots look like tiny teapots made from ceramic, porcelain, or plastic. Users insert the spout at the opening of one nostril to pour the saline solution, allowing the liquid to flow in through the nostril and out the other nostril. Alternatively, squeeze bottles and electric irrigation systems are available to accomplish the same process.
How to Use a Neti Pot
I use my neti pot almost every day, and it’s a simple procedure that follows a few important safety steps. I’m not a medical professional, and I advise consultation with your physician before pursuing any healthcare regimen. But if you’d like to give it a try, here are some guidelines for safely using a neti pot.
The Water
Wash your hands before handling your clean neti pot. Use only distilled or sterilized water to make your saline solution—not tap water. Alternatively, you can use filtered water that has been boiled for 3-to-5 minutes and left to cool.
For comfort, the water should be lukewarm. Before pouring it into my plastic neti pot, I pour 8 ounces of distilled water into a glass pitcher and heat it for 20 seconds in the microwave.
The Salt
I use pre-mixed, non-iodized salt, available at my local drugstore for use in neti pots. It comes in little packets that are inexpensive and easy to tear open and empty in the neti pot. No mess, no fuss. The pre-mixed packets take the guesswork out of mixing salt with baking soda in the correct proportions for an effective and non-irritating saline solution.
If you prefer mixing your own solution, you’ll need non-iodized salt and baking soda. A number of websites offer recipes. Click here for WebMD directions to create a salt and baking soda mixture for use in a neti pot.

The Process
Here’s the part that initially made me say, “Ewww, that’s gross!” Now, I’ve found that, although it looks weird, the process feels refreshing.
- Stand over a sink or in a shower, leaning slightly forward. Insert the spout of the neti pot into the opening of one of your nostrils.
- Lean further forward and turn your head sideways in the direction of the affected nostril.
- The saline solution flows into the affected nostril (which is now higher than the other one) and gravity makes the solution flow out the other nostril.
- Pour half of the solution (about 4 ounces) into that first nostril.
- Stop and stand up. Blow your nose gently to remove any remaining solution.
- Repeat the procedure on the other side, flushing out the other nostril.
If you experience a water-in-your-ears feeling after irrigating your nasal and sinus passages with a neti pot, there is a simple solution. Raise your soft palate (the roof of your mouth toward the back) while pouring the solution into your nostril. To do this, shape your mouth as if you’re making the sound of a letter K.
Related: “Take A Few Deep Breaths…Literally”
Safety Guidelines
I trust the neti pot because it’s a simple, safe, natural, and non-chemical procedure. The primary safety issue involves using the appropriate type of water in the neti pot. It’s essential to use only distilled, sterilized, or boiled water, ensuring the removal of harmful microorganisms.
Regular tap water contains microorganisms that may cause illness if introduced to the respiratory system via nasal irrigation. Therefore, using the correct water becomes an important issue. The Mayo Clinic provides this information about the safe use of neti pots.
The Centers for Disease Control and Prevention (CDC) provides this fact sheet explaining the safety precautions to use when preparing a saline solution for a neti pot.
So give your respiratory system a helping hand with regular use of this simple, ancient tool!
-Carol Benton
Photo: Neti pot (Kurt Yoder via Wikimedia Commons)
0 comments on “The Neti Pot: A Useful Tool for Self-Care”