I have always assumed having a green thumb was an absolute prerequisite to growing vegetables. In theory, anyone who’s attempting to grow anything edible should have a decent track record with the common houseplant. Fortunately for those who can’t seem to keep their persnickety ZZ plant alive, there are shortcuts to growing your own supply of vegetables. One of the easiest methods is re-growing vegetables from its very own scraps.
Aside from store-bought vegetables, all you need are the unused mason jars or containers around your house and good old-fashioned sunlight. If you’d like to maintain the re-growth, a bag of soil and a few planters will be necessary.
Related: “Composting 101: A Guide for the Newbie Gardener”
Green onions (or scallions)
Green onions are a little like the “gateway” crop to re-growing vegetables. Not only are they easy to grow, but green onions propagate faster than most vegetables out there.
Once you have secured scallions, cut them where the onion turns green. (As a rule of thumb, that’s about 2.5 to 3 inches from the base.) Place the roots intact in a jar within direct sunlight. Fill the jar with water at about an inch from the tops of the stalks. It’s recommended that you change the water every couple of days; otherwise, they’ll develop a slimy film.
Within just a few days, you should begin to see green offshoots from the center. While you can move them to a soil container, you can also keep them in the jar as long as you are diligent about changing the water. Once they begin showing visible growth, clip, and use at your pleasure.
Green onions are fantastic in stir-fries, thrown into an omelet, or served raw on a salad or taco.

Celery
How fortuitous that we can grow one of the most commonly stocked vegetables: the glorious celery stalk.
To start, we’ll need celery with stalks that are still connected at the base. Next, cut 3 to 4 inches from the bottom. Place the celery butt in a jar or a shallow dish. Fill your container with water at about an inch deep. Expect your celery to look a little oxidized (a reddish tint on the outer layers) after a couple of days.
In about a week, you’ll begin to see offshoots growing from the center of the stalk. Those offshoots will grow longer and greener. By the two-week mark, you’ll start to see roots take shape at the base. Once visible, feel free to plant about an inch deep in the soil.
Keep in mind that celery is a cold-weather crop, meaning it prefers mostly shade or indirect sunlight.
Romaine lettuce
Like scallions, lettuce is one of our speedy “gateway” crops.
Similar to celery, make sure that the base of the lettuce is still intact. Cut the lettuce approximately an inch or so from the base. Place it in a jar or a shallow container, filling it up with water about halfway from the top of the trimming (about 0.5 inches of water). Place the container on a window sill. In a matter of days, you’ll begin to see spry green leaves shoot up from the center. You may transfer to soil once you see root growth, right around the two-week mark.
If you’re impatient like me, you might be tempted to use these leaves as soon as possible, but be warned that they will taste a bit more bitter than your usual grocery-bought romaine. Allow them to lengthen over time, and the lettuce will grow to be less bitter.
Garlic scapes
For those unfamiliar, garlic scapes (the green stems that protrude from the garlic bulb) look a little like scallions but impart the same garlic flavor.
To grow, all you need is a garlic bulb from the grocery store. First, break apart the bulb into its cloves. Pick the biggest clove out of the bunch and peel the outer skin layer. You can choose to place it in a shallow cup of water or plant it directly in soil. Either way, orient the garlic with the root end down and the “pointy” end facing up.
In about a week, you should have a green shoot sprout from the “pointy” end. If you opted for the “cup of water” approach, you might see white fibrils sprouting from the root end after about a week. Once there is root growth, transfer the clove to a pot of soil. Plant the clove about 2 inches below the top of the soil. If you have more than one clove, plant them at least 6 inches apart from one another.
The actual garlic bulb may take anywhere from six to nine months to harvest. Luckily, the garlic scapes can be enjoyed in just a couple of weeks. Garlic scapes shine in sautéed dishes and serve as the perfect substitute for the garlic clove.
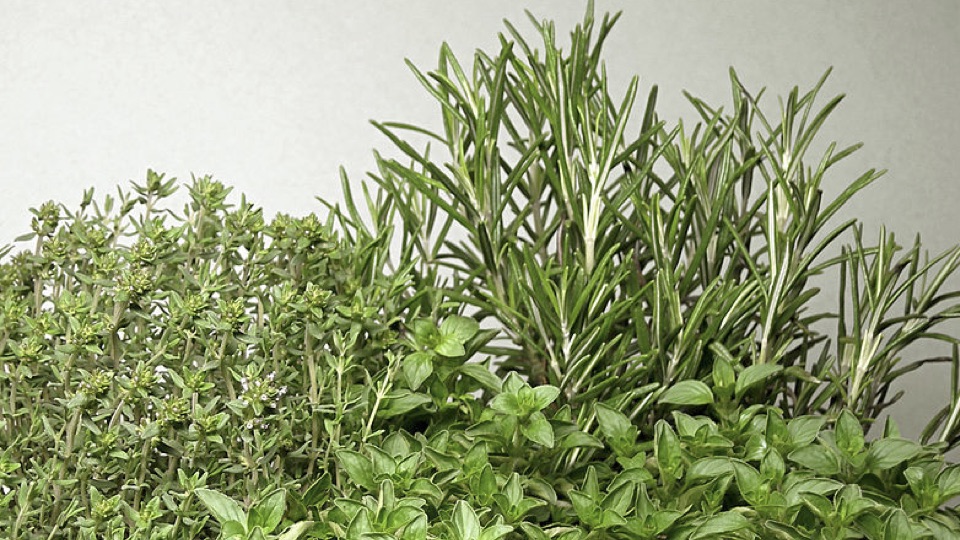
Basil, thyme, sage, and rosemary
As luck would have it, the re-grow method for basil, thyme, sage, and rosemary are nearly identical, so instead of a fifth vegetable, please enjoy this four-for-one special.
To re-grow basil (or any of the other three), begin with a single stem with several leaves. Note that the stem you choose should not have any flowers or seeds attached to it; otherwise, it may not propagate. Remove the leaves closest to the base of the stem, leaving at least two inches of the stem leaf-less.
Place the stem in a bottle or small jar with two inches of water. Remember to change the water every two to three days. At the two-week mark, roots (angel-hair thin, light-colored filaments growing from the base of the stem) may have developed. If so, transfer the herb to a pot of soil near sunlight, make sure to give it a good soak after planting.
Keep in mind that sage and rosemary are drought-tolerant herbs, meaning they do not need to be watered as often as other plants.
-Silvi Demirasi
Photo: Rainer Zenz via Wikimedia Commons
0 comments on “A Fool-Proof Guide to Regrowing Veggies from Scraps”